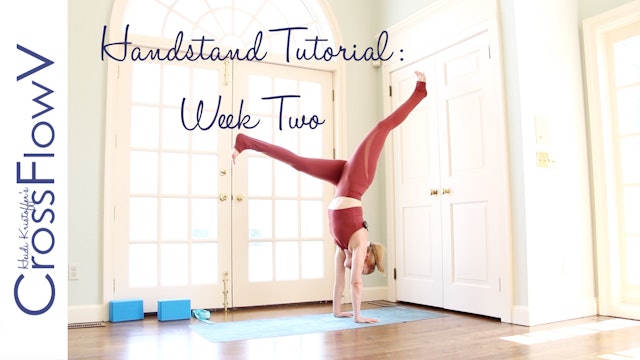
CrossFlowV: Handstand Tutorial Week Two
CrossFlowV: Three Week Handstand Tutorial: Week Two. Building on week one. Strap and blocks recommended, but optional. As always: only do what feels good on YOU. Do your best to do this flow 3-5 times your second week of this handstand tutorial. For any days that you cannot, do the following moves:
1. Windmill shoulder rolls:
Stand with feet hip’s distance apart. Reach your arms straight up on either side of your face, and start to swim one arm forward around at a time – like you are doing freestyle. Try not to control it, allow momentum to take over. Go forward for 30 seconds, then pause at the top, and go backward, like you are swimming backstroke with your arms for 30 seconds. Take care to keep your shoulders down and away from your ears as you do this.
2. Core roll-backs:
Begin lying down on your back. Reach arms overhead, palms face up, backs of hands on the ground. Reach legs straight up and together. Keep your legs together for this entire exercise. Take a big inhale in this 90 degree “L” position, and on your exhale, reach your toes towards your hands as much as is comfortable. On your next inhale bring your legs back up to that 90-degree position. On the next exhale, allow your heels to hover just above the ground. On the next inhale, pull your navel towards the ground, and bring your legs back to the 90-degree position. This is one round. Keep repeating this for 1-2 minutes. If you need to modify by bringing your arms alongside your body so that your hands are around your hips, that is fine.
3. Reverse double L-handstand at Wall:
Measure a leg's distance away from the wall to determine where to put hands on the ground. Face away from the wall on all fours. Place hands shoulder-width apart on the ground where you measured your leg distance. Walk feet up the wall until your body forms an "L" position, letting your head fall toward the ground. Line up shoulders and wrists; hips will move beyond them. Aim to stay here for 30 seconds to 1 minute.
4. L-hops
From a forward fold with fingertips on the ground, bend knees and firmly press palms into the ground about a foot and a half in front of feet shoulder-width apart, wrists aligned as in plank. Lift left leg behind you, and come high onto the ball of the right foot. Keep left leg lifted and rock forward and back, just starting to get hips over shoulders, and shoulders over wrists. Start to take small hops on the right leg. When you hop up, lift left leg high, and reach through left toes, so hips are over shoulders and keep right leg is dangling down, so legs are in an "L" shape. Keep breathing through the entire movement, inhaling as you rock or lightly hop up, and exhaling as you release. (Be sure to keep super soft knees so that when you land you aren't putting stress on your joints.) Do 5 rocks on each side.
Do these moves any day that you can not complete this full video the second week of handstand practice.
Don't forget to breathe and have FUN! You are as strong as you make up your mind to be. BELIEVE IT.

-
CrossFlowV: Handstand Tutorial Week Two
CrossFlowV: Three Week Handstand Tutorial: Week Two. Building on week one. Strap and blocks recommended, but optional. As always: only do what feels good on YOU. Do your best to do this flow 3-5 times your second week of this handstand tutorial. For any days that you cannot, do the following mo...