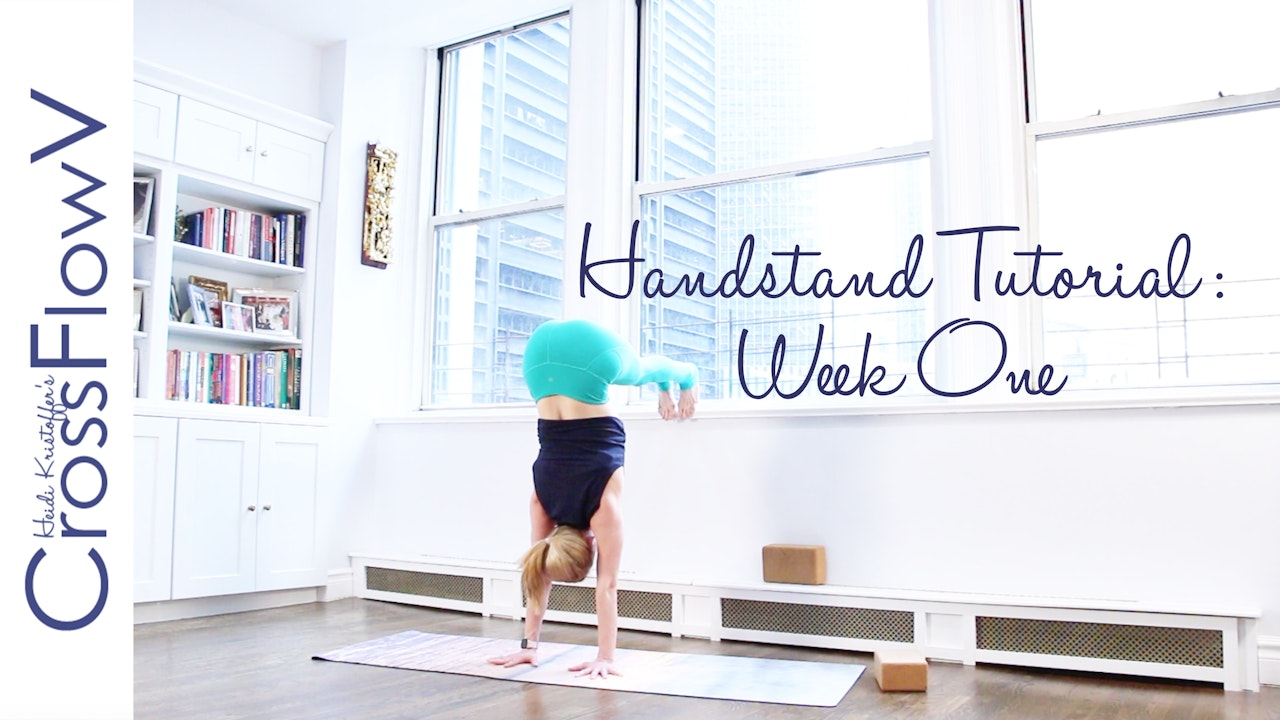
CrossFlowV: Three Week Handstand Tutorial: Week One
CrossFlowV: Three Week Handstand Tutorial: Week One. Learn how to do a handstand in three weeks. Week one starts slow with this 43-minute CrossFlowV Flow. Learn basics, alignment, and positioning for a yoga handstand. No handstanding skills required. Show up, do your best, and you CAN do this! Don't forget to BREATHE and HAVE FUN! This video should be practiced a minimum of 3-5 times the first week of this series. As always, if that makes sense with your body, please tune in and listen to YOU.
If you don't have time for this whole video every day, week One: focuses on building core strength and shoulder mobility, so you can do the following 4 moves on days you are time-constrained:
1. Ardha navasana (low boat) hold:
Low boat pose is a great way to integrate the core in the same way required for a handstand. Come to a regular boat pose (on your sits bones making a V with your torso and legs, arms reaching forward, palms in towards your thighs). Lower your middle back toward the ground, pulling belly button to spine and keeping head and shoulders lifted off the ground. Lower legs—keeping them together—until feet are about 6 inches from the ground. Engage abdominal muscles and quadriceps, and breathe here. Start with 30 seconds, move on to 1 minute as soon as you can, and aim for 2 minutes.
2. Plank hold
Start on hands and knees. Step feet back so they are hip-width apart, keeping toes tucked and shoulders and wrists in line. Wrist creases in line with one another, fingers spread enough so that no two fingers touch. Press into the knuckles of the forefingers and thumbs especially. Tuck chin slightly, keeping the spine in line with the body. Engage navel to spine and energetically reach back through heels while pushing through the crown of the head. Make sure shoulder blades are equally engaged down the back. Do not lock elbows. Breathe here. Start with 30 seconds, move on to 1 minute as soon as you can, and aim for 2 minutes. This move is demonstrated in this video.
This wrist alignment goes for all of the poses on your hands, especially handstand.
3. Down Dog to modified Up Dog Kriya
A Kriya is repetitive movements that match the breath to the movement. Begin in downward-facing dog: from all fours with shoulders over wrists and knees in line with hips, tuck toes and lift hips high, reaching sits bones toward the ceiling. Reach heels back toward the mat. Drop head so the neck is long. Make sure wrist creases stay parallel to the front edge of the mat. Press into the knuckles of forefingers and thumbs to alleviate pressure from wrists.
From down dog, one vertebra at a time, roll through plank pose, then drop hips towards the ground, hovering, and pull chest through arms, roll shoulders away from ears. This is your modified upward facing dog.
From modified up dog, reverse by engaging the core, coming back to plank, then all the way back up to down dog.
Keep repeating for 1 minute at a quick but sustainable and controlled pace. Try to connect your breath to the movement (this will help engage the core) by inhaling as you roll out to up dog, and exhaling as you come back to down dog.
4. Wall shoulder opener
Stand facing a wall, at arm's distance away. Plant palms on the wall at face height, shoulder-width or slightly wider apart. Slowly walk away from the wall, drop torso, keeping palms connected, and relax head. Breathe here for 30 seconds – 1 minute. This move is also explained in the video.
Do these moves once a day every day for your first week any day that you can't complete the full video.
-
CrossFlowV: Three Week Handstand Tutorial: Week One
CrossFlowV: Three Week Handstand Tutorial: Week One. Learn how to do a handstand in three weeks. Week one starts slow with this 43-minute CrossFlowV Flow. Learn basics, alignment, and positioning for a yoga handstand. No handstanding skills required. Show up, do your best, and you CAN do thi...


